Is your attic or garage full of unused items? Maybe you have some old chairs whose upholstery has seen better days? Perhaps you have an old cabinet that could use a fresh coat of paint and some new handles? Or maybe, you have an old trampoline lying in the corner, gathering dust that you think needs to be thrown away? If you answered yes to that last suggestion, then stop what you’re doing because I’m going to tell you how my dad upcycled my old trampoline into a bird feeder frame!
What is upcycling?
Before I get into the details, let me tell you a little bit about upcycling. So, what is it? Well, according to the Cambridge Dictionary, upcycling is, “the activity of making new furniture, objects etc. out of old or used things or waste material”.
This process differs from recycling, which involves breaking down items into primary materials so they can be used again to create items from scratch. Although both processes have sustainable and environmental benefits, upcycling is a more beneficial process for several reasons. Firstly, the finished product at the end of the upcycling process is likely to be of a higher quality than a product created via recycling. This is because the breaking down of materials during the recycling process can lower the quality of the raw material left. Also, objects that are difficult to recycle often end up being discarded as waste defeating the purpose.
Click here to find out more about the benefits of upcycling.
The context - why did we need a bird feeder frame?
Now you know a little bit about upcycling, here’s the story of how my old trampoline was upcycled into a bird feeder frame!
A few years ago, we had a problem that had been plaguing us for a while. We had two cats, whose favourite hobby was to hunt every bird within their vicinity. The problem only increased when we tried hanging our bird feeders from the fruit trees and other places in our garden. This put us in a bit of a quandary - how can we keep feeding our local birds without leading them to their ultimate demise?
Things seemed hopeless until one day, my dad had a brainwave. He ventured into the attic, and emerged with the metal frame of my old trampoline, which was rotting away in our attic. I asked my dad, “Where are you going with that?” He replied, “Just wait and see…”. He then went outside and got to work...
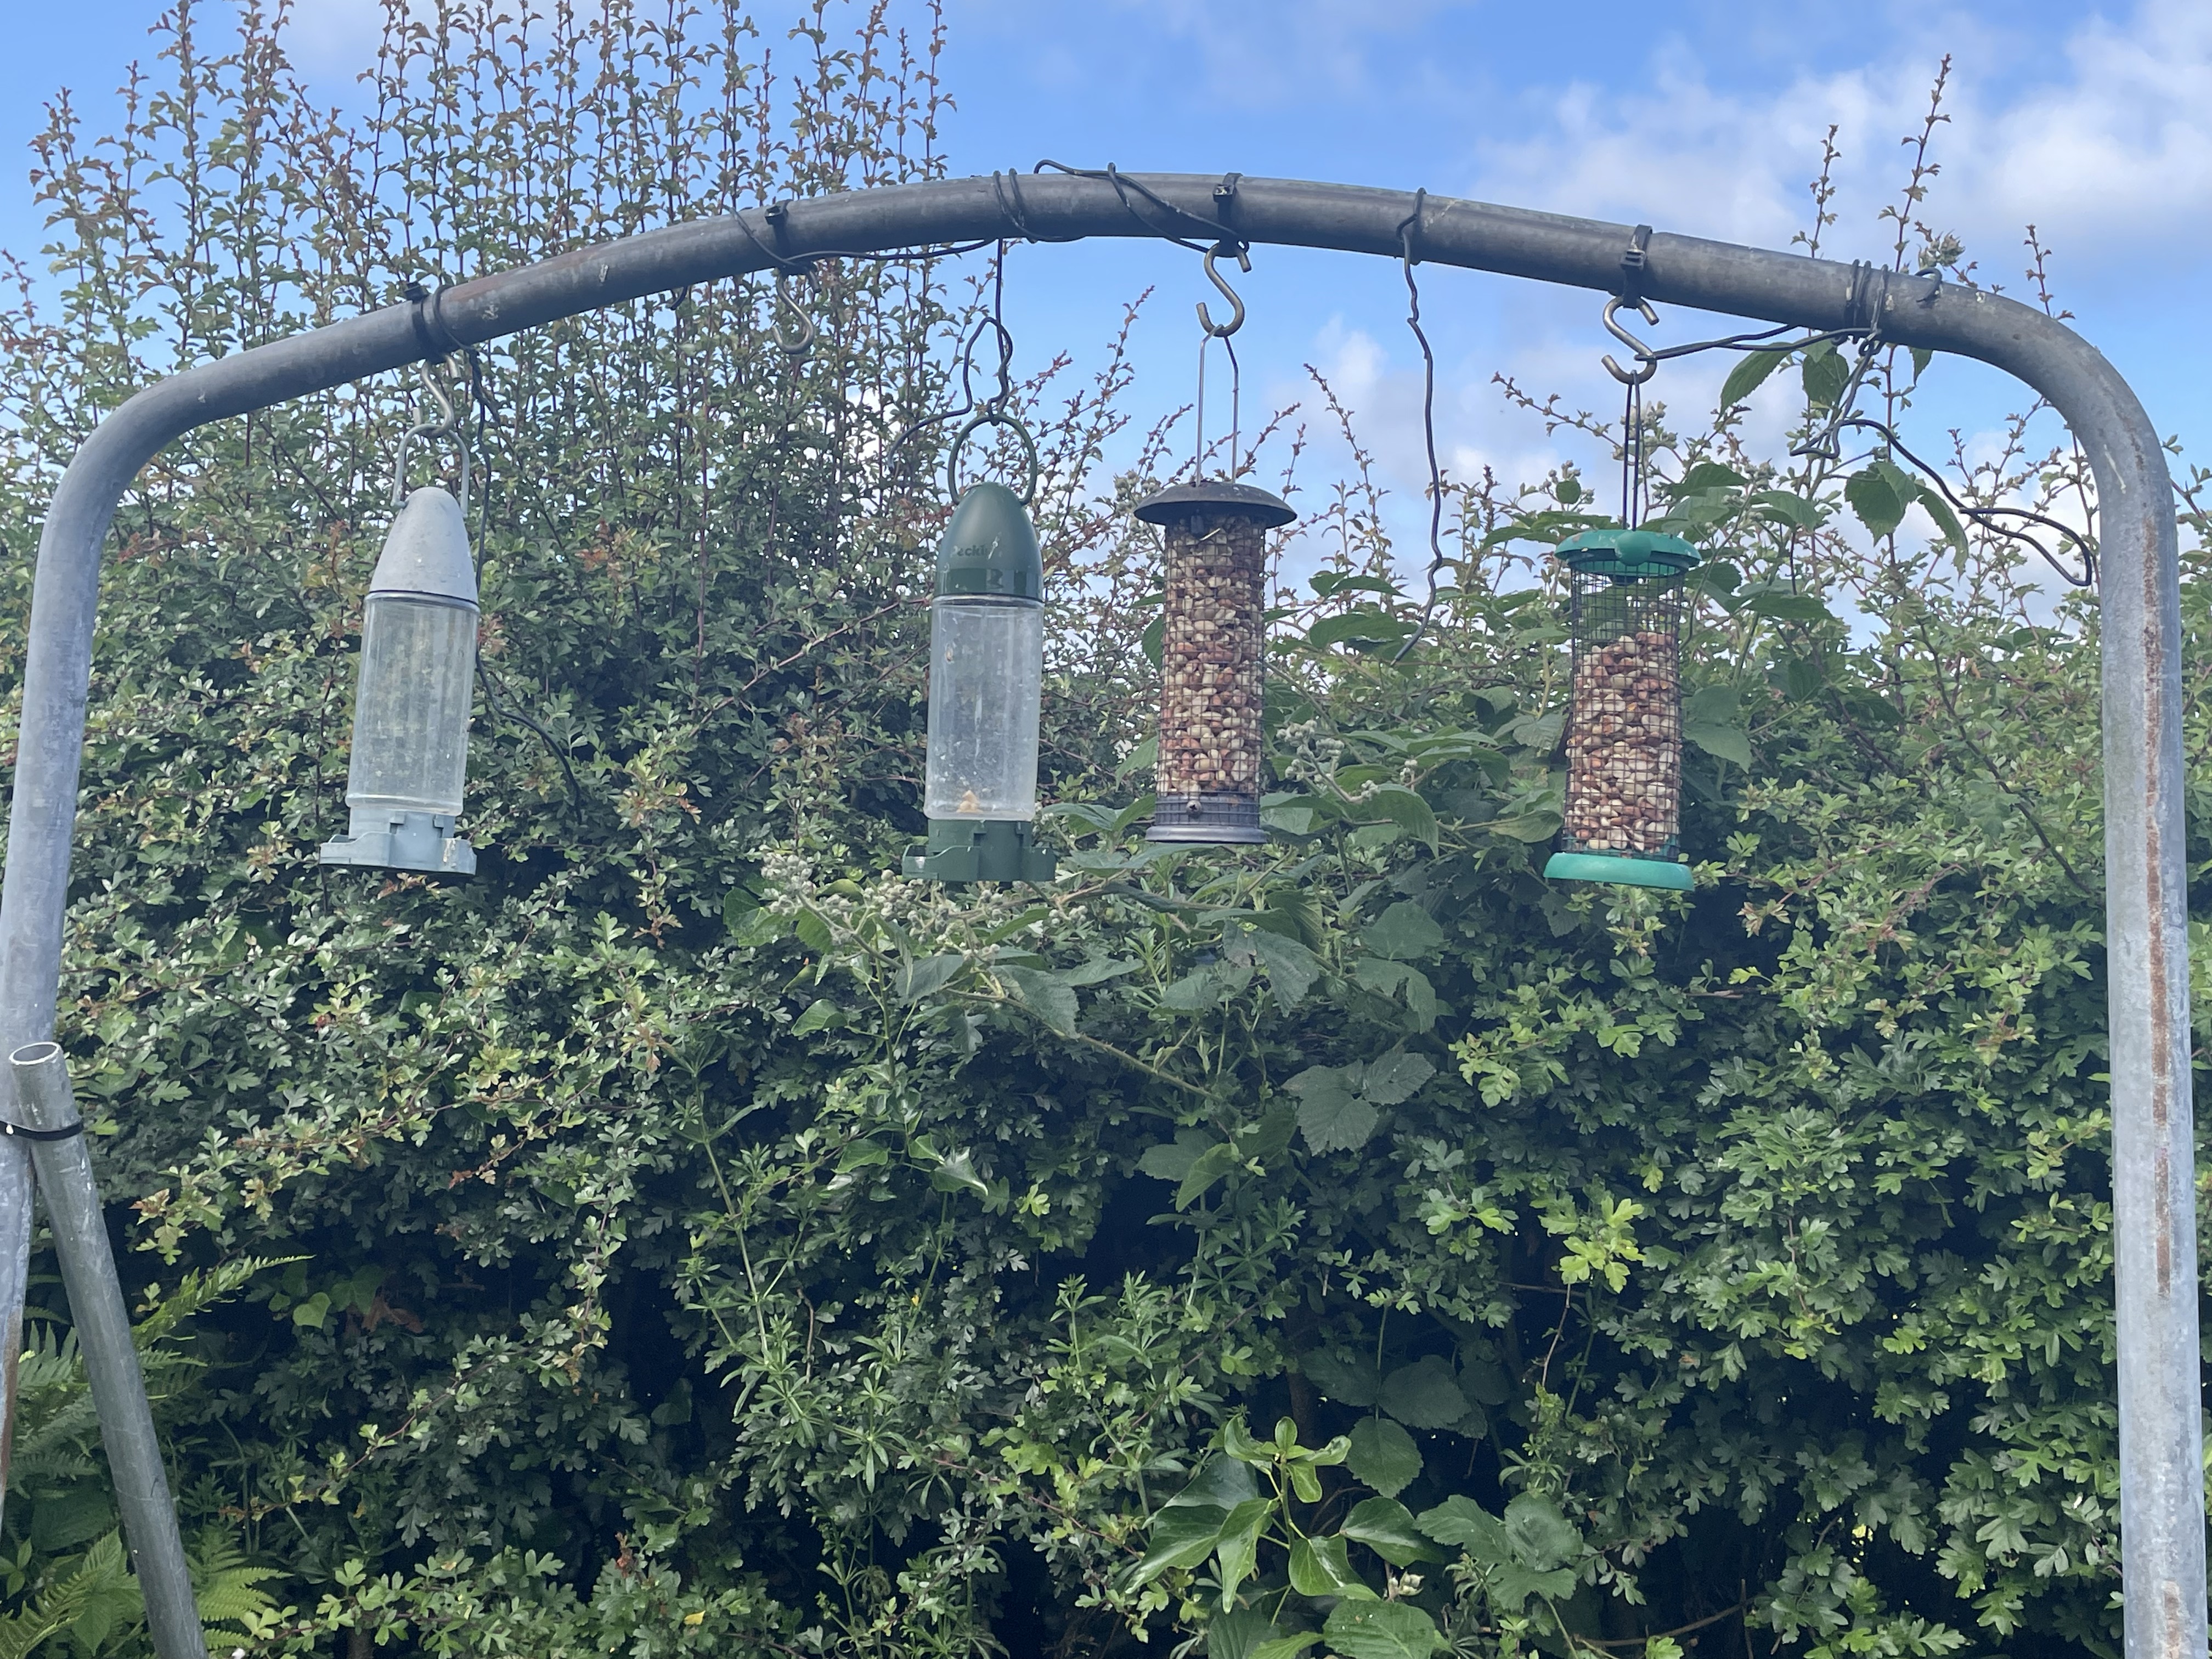
A couple of days later, he asked me to come outside. I couldn’t believe my eyes when I saw what he had done. He had fashioned it into a frame for the bird feeders!

An arched metal frame with bird feeders attatched to it.
The results of my dad's upcycling project
The results of my dad’s creative endeavour were successful. Here's why:
In the previous locations we had used to hang the bird feeders, our cats were able to sink their claws into the trees and climb up to the bird feeders. However, because our new frame was metal, they could not sink their claws into it do this. Although they did give it a good try, by the time they had made their attempt, they had made too much noise and lost their element of surprise, meaning the birds could make their escape!
Another added benefit of my dad’s creation was that the position of the frame directly below one of the windows in our house has given us the perfect vantage point to do some bird watching. One of my favourite rituals in the morning is to watch the birds stuffing their beaks with nuts and seeds as they compete with each other for the best perching spot on the frame while sipping my morning coffee.
How to make your own bird feeder frame
If you would like to make your own bird feeder frame, here is a simple how-to guide.
You will need:
- an old metal trampoline frame (the arched frame used to hold the net)
- 2 poles
- zip ties and wire
- bird feeders
- a trowel
- metal S -shaped hooks
Instructions:
Step 1 - Choose where you want to place your new bird feeder frame in your garden.
Step 2 - Measure the horizontal distance between each end of the metal arch frame.
Step 3 - Measure this distance out on the ground and dig 2 small holes.
Step 4 - Place both ends of the metal arch into the holes and fill them in.
Step 5 - Dig a hole behind the frame on either side and place the extra poles into them at an angle.
Step 6 - Using zip ties, fasten the poles to the main metal frame (These will help to stabilise the frame).
Step 7 - Using more zip ties and wire, fasten the S-shaped hooks across the metal frame.
Step 8 - Fill your bird feeders of choice with nuts, seeds, fat balls etc.. and hang them from each hook.
There you have it. Your very own bird feeder frame! (Birds not included)

An arched metal frame with bird feeders hanging from it.

An arched metal frame with bird feeders hanging from it.
Conclusion
So, the next time you’re about to throw out your old trampoline or any other unused items in your home, pause and consider if you could upcycle the item to give it a new lease of life.
Also, if you’re interested in upcycling, but don’t feel confident to do it yourself or don’t have anything to upcycle, there are businesses who sell upcycled items or will upcycle your own items.
A great place to start if you’re looking for upcycled furniture is Etsy. There are many individuals there who sell all kinds of items. Just visit the website and search ‘upcycled - blank’.
You can pay some companies to upcycle your old items and return them to you as a new unique piece. For example: the jewellery company, ‘Spur’, upcycles old jewellery. Click here to visit their website.
More resources
Below are some more resources you may want to read to find out more information about upcycling, and gain some inspiration for your own upcycling endeavours.
Information
Teen Vogue: 'What is Upcycling?'
Habitat for Humanity: 'What is Upcycling?'
Divert: 'Upcycling vs Recycling - What's the Difference?'
Weavabel: Brands engaging in Upcycling
Inspiration
Learning
Future Learn course: ‘Upcycling: From Green Ideas to Starting a Business’

Bird feeders hanging from a metal frame.


0 Comments